You can deploy Virtual Machines using Microsoft Azure Portal with only a couple of mouse clicks, sweet huh! A Virtual Machine (VM) is an operating system (OS) or application environment installed on software, which imitates dedicated hardware. Creating a Windows 10 VM in Microsoft Azure can be accomplished through the Azure Portal. In this tutorial, we're going to sign up for a student account. You will get $100 Azure credit - in addition to free access to VM tools.
Set up Azure Student account
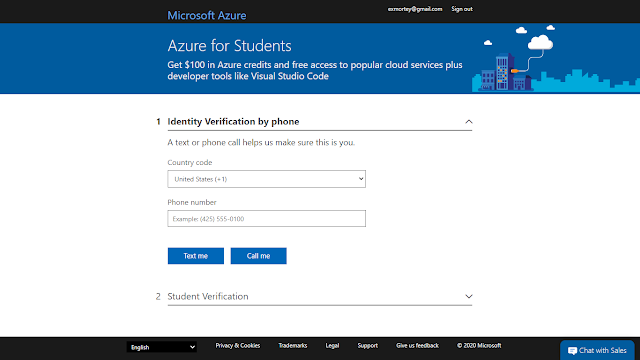
You will need a valid Azure account. Go to Azure Portal and sign up for a student account.
Note, Microsoft will verify your academic status.
Steps for creating Virtual Machine
1. Click Create Resource from the hub menu.
2. In the search, type Windows Server and set the filter to the following:
- Pricing: All
- Operating System: All
- Publisher: Microsoft
3. Select the Windows Server from the search results. This will create a Windows based VM for you.
4. Select a software plan drop-down list and find the [smalldisk] Windows Server 2019 Datacenter option.
5. Click the Create to start configuring the VM.
6. Configure your VM.
Note that:
- In the Administrator Account section, set the Username field to a username you will use to sign in to the VM.
- In the Password field, enter a password that's at least 12 characters long. It must have three of the following: one lower case character, one uppercase character, one number, and one special character that is not '\' or '-'. Use something you will remember or write it down, you will need it later.
Confirm the password.
You can configure your VM with your own settings if you know what you are doing. Or you can just click Review + Create button to create with the default configuration.
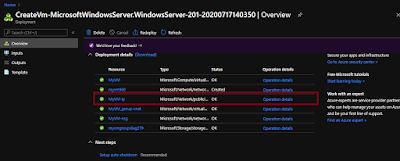
7. After your settings have been validated you can click on the create button to deploy
Use RDP to connect to Windows Azure virtual machines
Remote Desktop Connection is built into Windows but also exists as a Windows 10 Universal app in the Microsoft Store. If you want to access and control a computer from a non-Windows device, Microsoft's RDC app is also available for Mac, iOS, and Android.
How to connect to your Virtual Machine
1. Open RDP on your PC by typing Remote Desktop Connection in the Windows search.
2. Go to your Azure Console and get the IP address of your Virtual Desktop.
3. Copy the IP address of your virtual desktop.
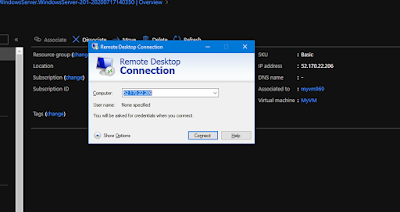
4. Switch to the RDP console and type in your IP address as shown in the image.
5. You will get a warning that the identity of the remote computer cannot be verified. This is a normal warning. Click Yes to verify the identity of the virtual machine and finish logging on.
6. Type in the credentials you used to create your Virtual Machine.
You are done and ready to work on your Virtual Machine!


